


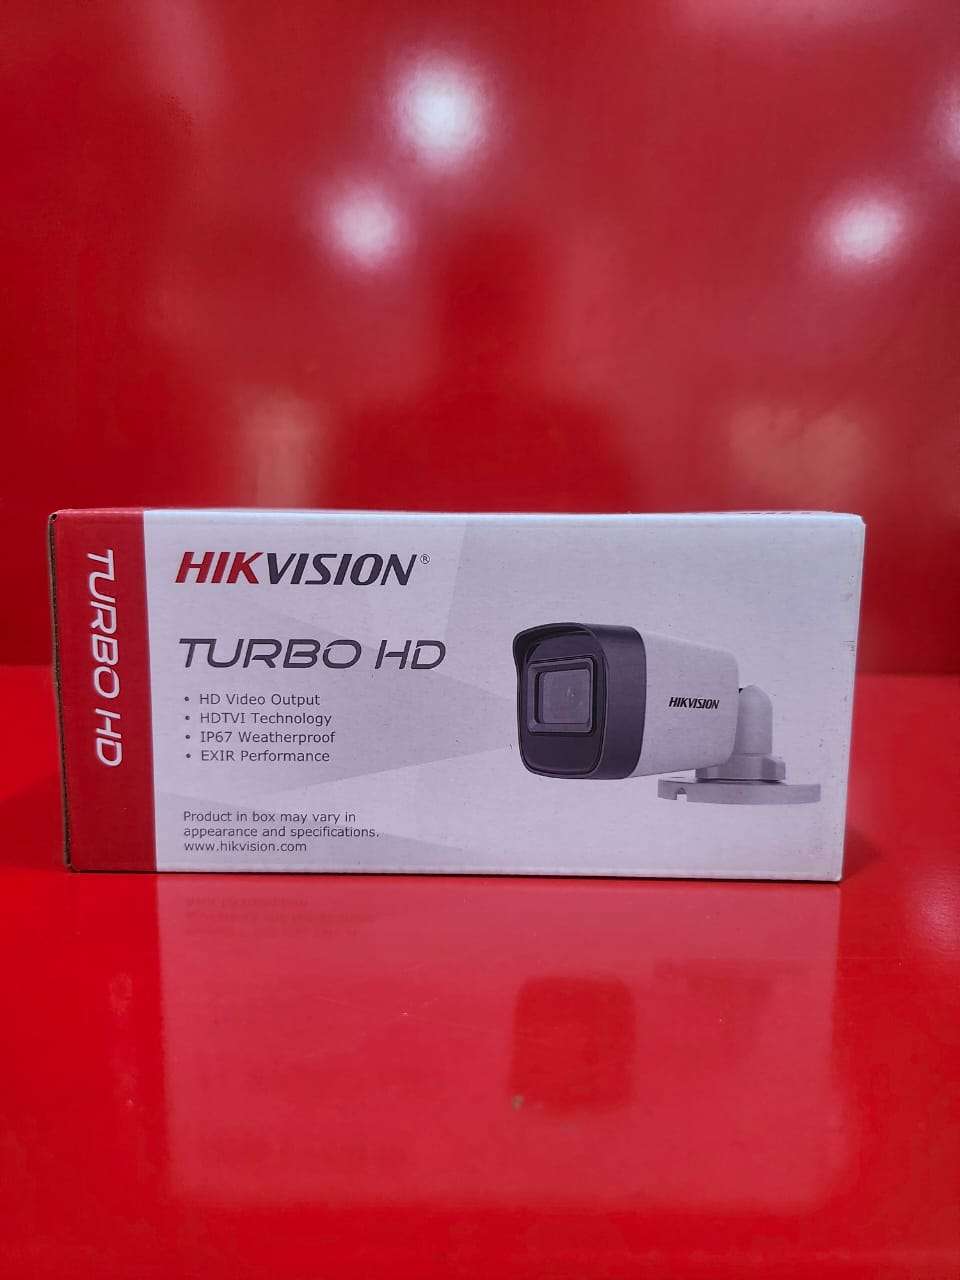
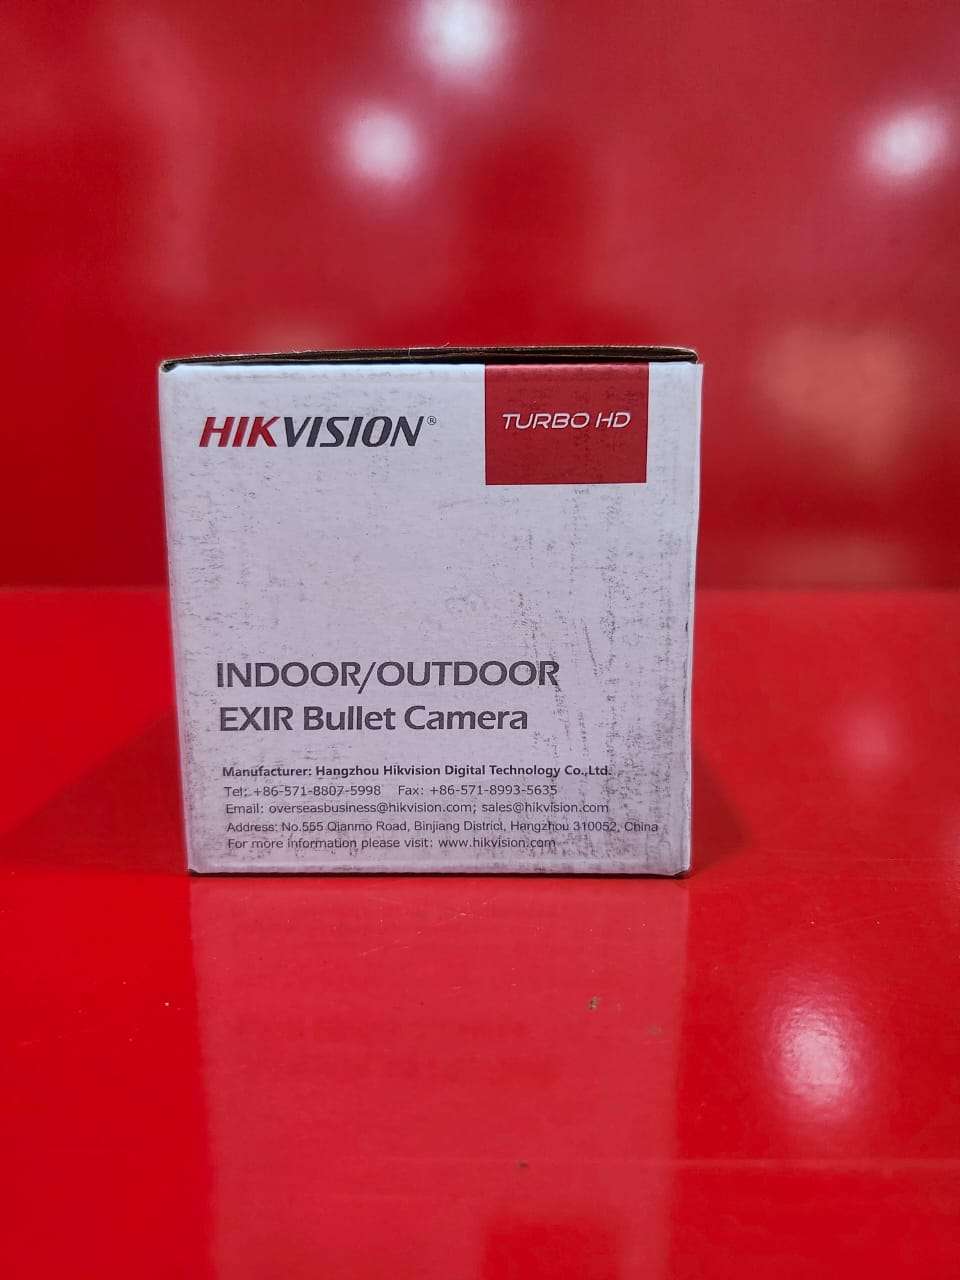
Indoor/Outdoor EXIR Bullet Camera
The Indoor/Outdoor EXIR Bullet Camera is a high-performance surveillance solution designed to deliver reliable security monitoring in both indoor and outdoor environments. Equipped with advanced EXIR infrared technology, the camera provides clear and evenly illuminated night vision, ensuring high-quality images even in complete darkness.
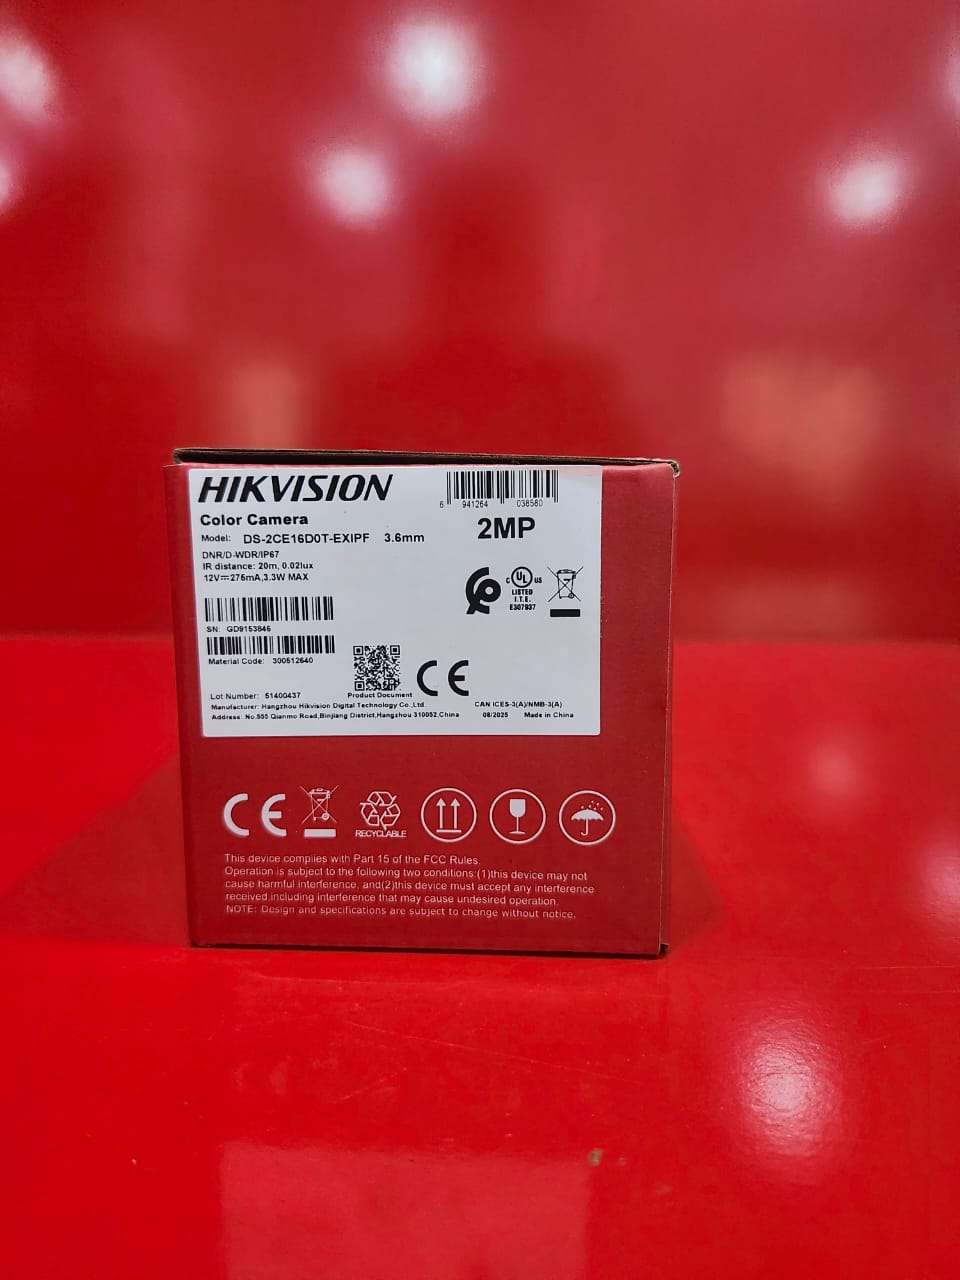
Featuring high-definition video resolution, this bullet camera captures sharp and detailed footage for effective monitoring of homes, offices, warehouses, retail stores, parking areas, and other properties. Its weather-resistant housing is built to withstand harsh environmental conditions, making it suitable for year-round outdoor installation.
The compact bullet design allows for flexible mounting and easy positioning, while its durable construction ensures long-lasting performance. With excellent image clarity, day-and-night monitoring capabilities, and dependable operation, the EXIR Bullet Camera is an ideal choice for enhancing property security.
Key Features:
* High-definition video quality
* Advanced EXIR infrared night vision technology
* Clear monitoring in low-light and complete darkness
* Indoor and outdoor installation capability
* Weatherproof and durable housing
* Wide viewing coverage
* Reliable day and night surveillance
* Easy installation and maintenance
* Suitable for residential and commercial applications
Applications:
Ideal for homes, offices, schools, warehouses, shops, parking lots, entrances, and perimeter security monitoring.
Enhance your security system with the Indoor/Outdoor EXIR Bullet Camera, delivering dependable surveillance and clear imaging around the clock.
How to Use
Step 1:Select a suitable indoor or outdoor location that provides a clear view of the area to be monitored.
Step 2:Securely mount the camera using the supplied mounting bracket and hardware.
Step 3:Connect the camera to the DVR using the appropriate video cable.
Step 4:Connect the camera to a compatible power supply.
Step 5:Power on the camera and DVR system.
Step 6:Adjust the camera angle to achieve the desired viewing area and tighten the mounting bracket.
Step 7:Configure recording settings and camera parameters through the DVR menu if required.
Step 8:Verify that live video is displayed correctly and check the image quality.
Step 9:Test the EXIR night vision function in low-light conditions to ensure proper operation.
Step 10:Periodically clean the camera lens and housing to maintain clear image quality and reliable performance.
For reliable operation and proper configuration, it is recommended to have the camera installed by a qualified installer.

CUSTOMERS’ CHATS