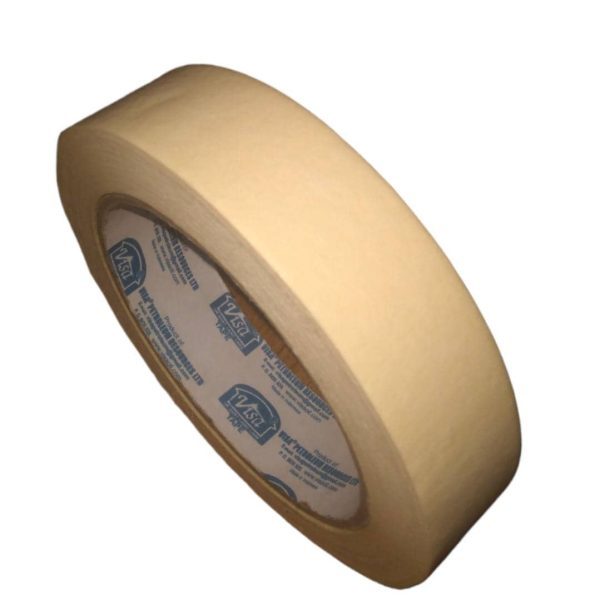
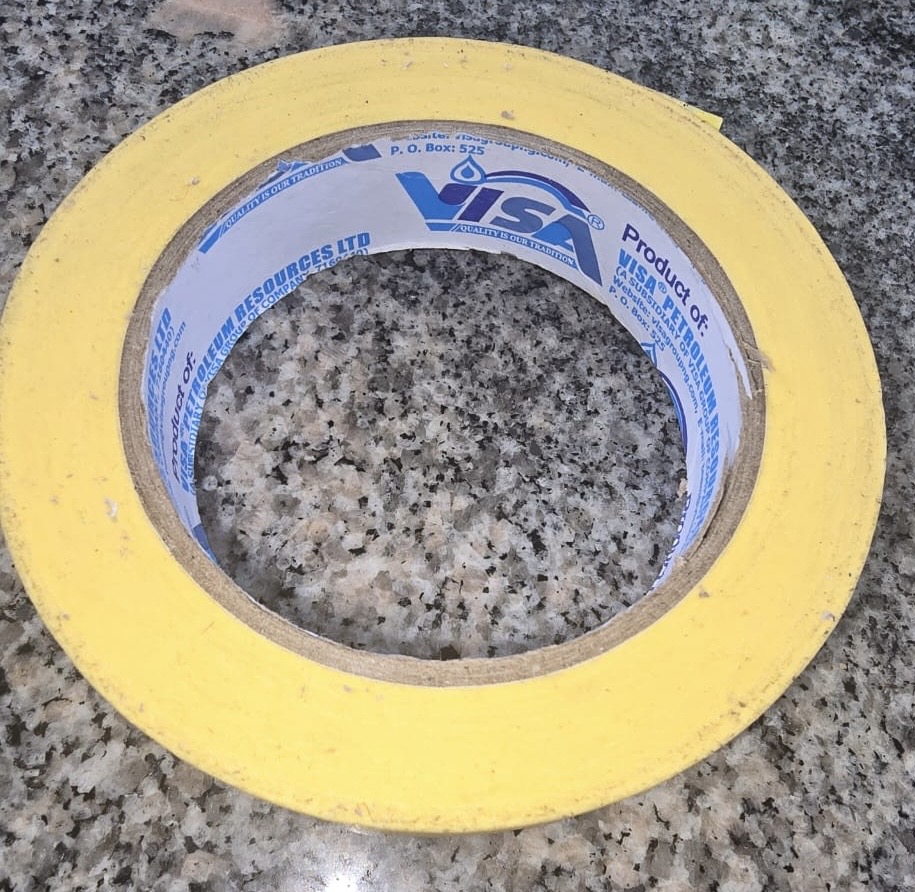
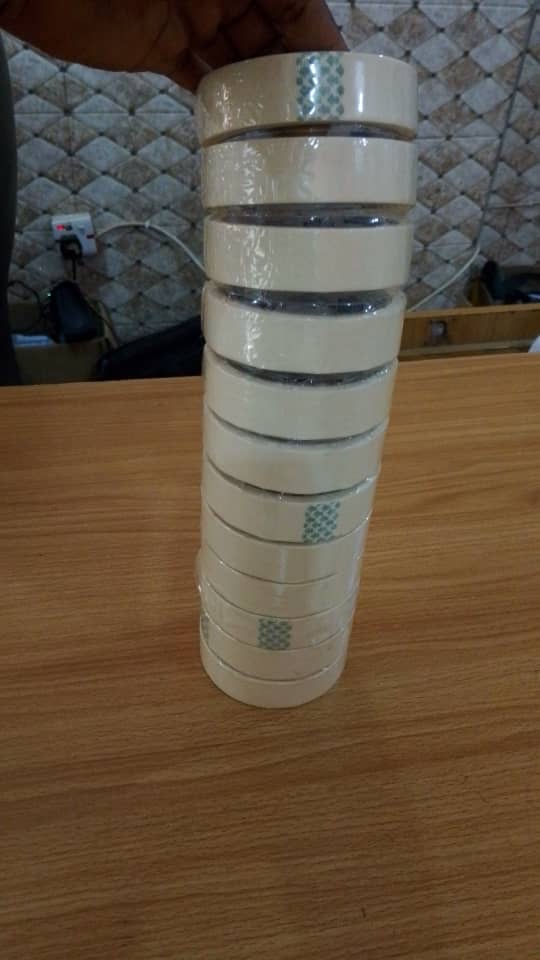
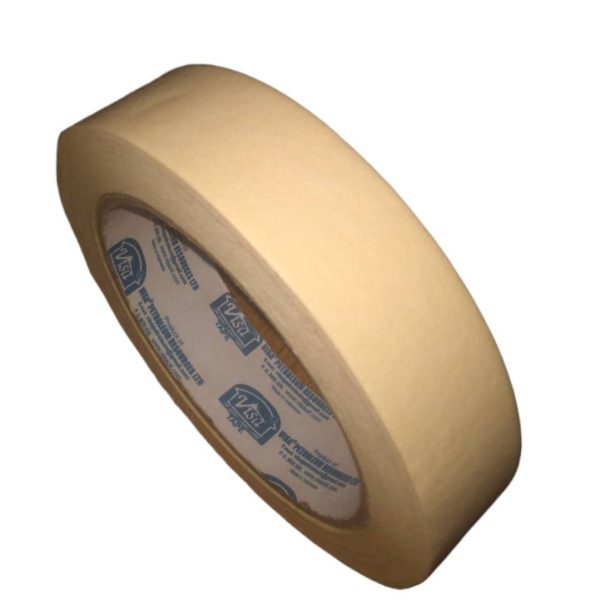
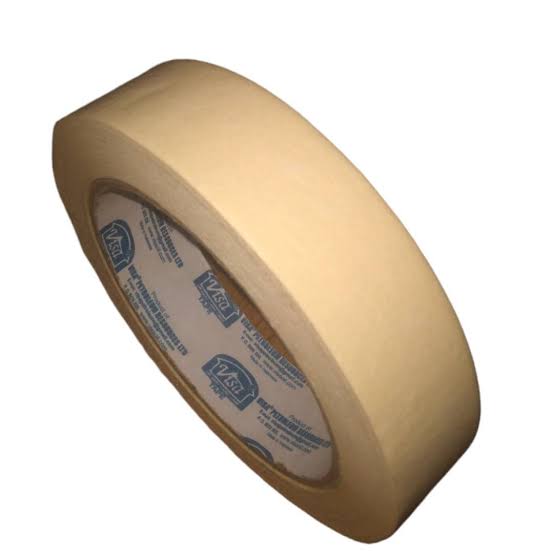
The Visa Masking Tape of 55 Yards, is versatile for masking, labeling, writing, splicing, and tagging both construction and non-construction materials. It adheres to almost any surface and provides a barrier against paints and thinners. Paper tapes, which include types like Flatback Paper, Crepe Paper, and Coated Paper, are commonly used for masking, color coding, splicing, mounting, packaging, and protection.
Using Visa masking tape is simple and effective for various tasks like painting, labeling, or protecting surfaces. Here’s a step-by-step guide:
1. Prepare the Surface: Ensure the surface is clean, dry, and free from dust or grease. This helps the masking tape adhere properly.
2. Measure the Tape: Unroll the masking tape to the desired length. You can either cut it with scissors or tear it by hand, depending on the type of tape.
3. Apply the Tape:
– Carefully align the tape with the edge or area you want to protect or mask off.
– Press down firmly to ensure it sticks well. For paint jobs, make sure to press along the edges to prevent any paint seepage underneath the tape.
4. Smooth the Tape: Once applied, run your hand or a tool over the tape to remove any air bubbles or creases. This ensures a clean, crisp line when removing the tape.
5. Perform Your Task: Whether you’re painting, labeling, or working on a project, proceed with your task while the masking tape protects the designated areas.
6. Remove the Tape:
– After completing your task, wait for the paint or material to dry (if applicable).
– Peel the masking tape away slowly and carefully at a 45-degree angle to avoid damaging the surface or leaving behind residue.
Masking tape is ideal for protecting areas from paint, creating clean lines, bundling items, or temporary labeling.
CUSTOMERS’ CHATS


